· By The Hidangi Team
From Zero to Your First QR Table Order: How Long Does Setup Actually Take?
Setting up a QR table-ordering menu means downloading a free app, signing in, adding a few menu items with photos, and printing QR codes for your tables — there's no hardware terminal to install and no payment gateway to configure. For most one- or two-person restaurants, each of these steps is quick enough to knock out in a quiet stretch before opening.
What does "setting up" a QR menu actually involve?
It involves five things, and none of them require outside help: installing the app, building your menu, deciding on tax and service charge, printing table QR codes, and optionally practicing with test orders. There's no separate point-of-sale terminal to unbox, no card reader to pair, and no merchant account to open — Hidangi never processes food payment, so guests simply pay at the counter after they eat, exactly as they always have.
That's worth pausing on, because it's the main reason this setup tends to be shorter than people expect. A lot of restaurant software takes time to set up because it's also trying to become a payments company — reconciling settlements, verifying a merchant account, configuring a card terminal. Hidangi skips all of that. The entire job is: get your menu into the app, and get a QR code onto each table.
What are the exact steps, in order?
Here's the realistic sequence, in the order most owners actually do it. Time yourself as you go — every restaurant's menu is a different size, so there's no single number that applies to all of them, but each individual step below is small enough to finish in one sitting.
- Download the app. Get the free Hidangi app from the iOS App Store or Google Play. There's no purchase — the app itself costs nothing to install.
- Sign in as Owner. Use your existing Apple ID or Google account to sign in. There's no new password to invent or remember.
- Create your menu categories. Set up the sections your menu is organized into — Rice, Noodles, Drinks, Grilled, whatever matches how your kitchen actually groups dishes.
- Add your menu items. For each dish, enter the name and price, choose its category, and attach a photo. A plain photo taken on your own phone is free to upload on every plan — you don't need an AI-generated image or a professional photoshoot just to get a dish onto the menu.
- Decide on tax and service charge. Both Tax(%) and Service charge(%) are switched off by default. If you charge either, turn on the percentage that applies; if you don't, leave them off and skip this step entirely.
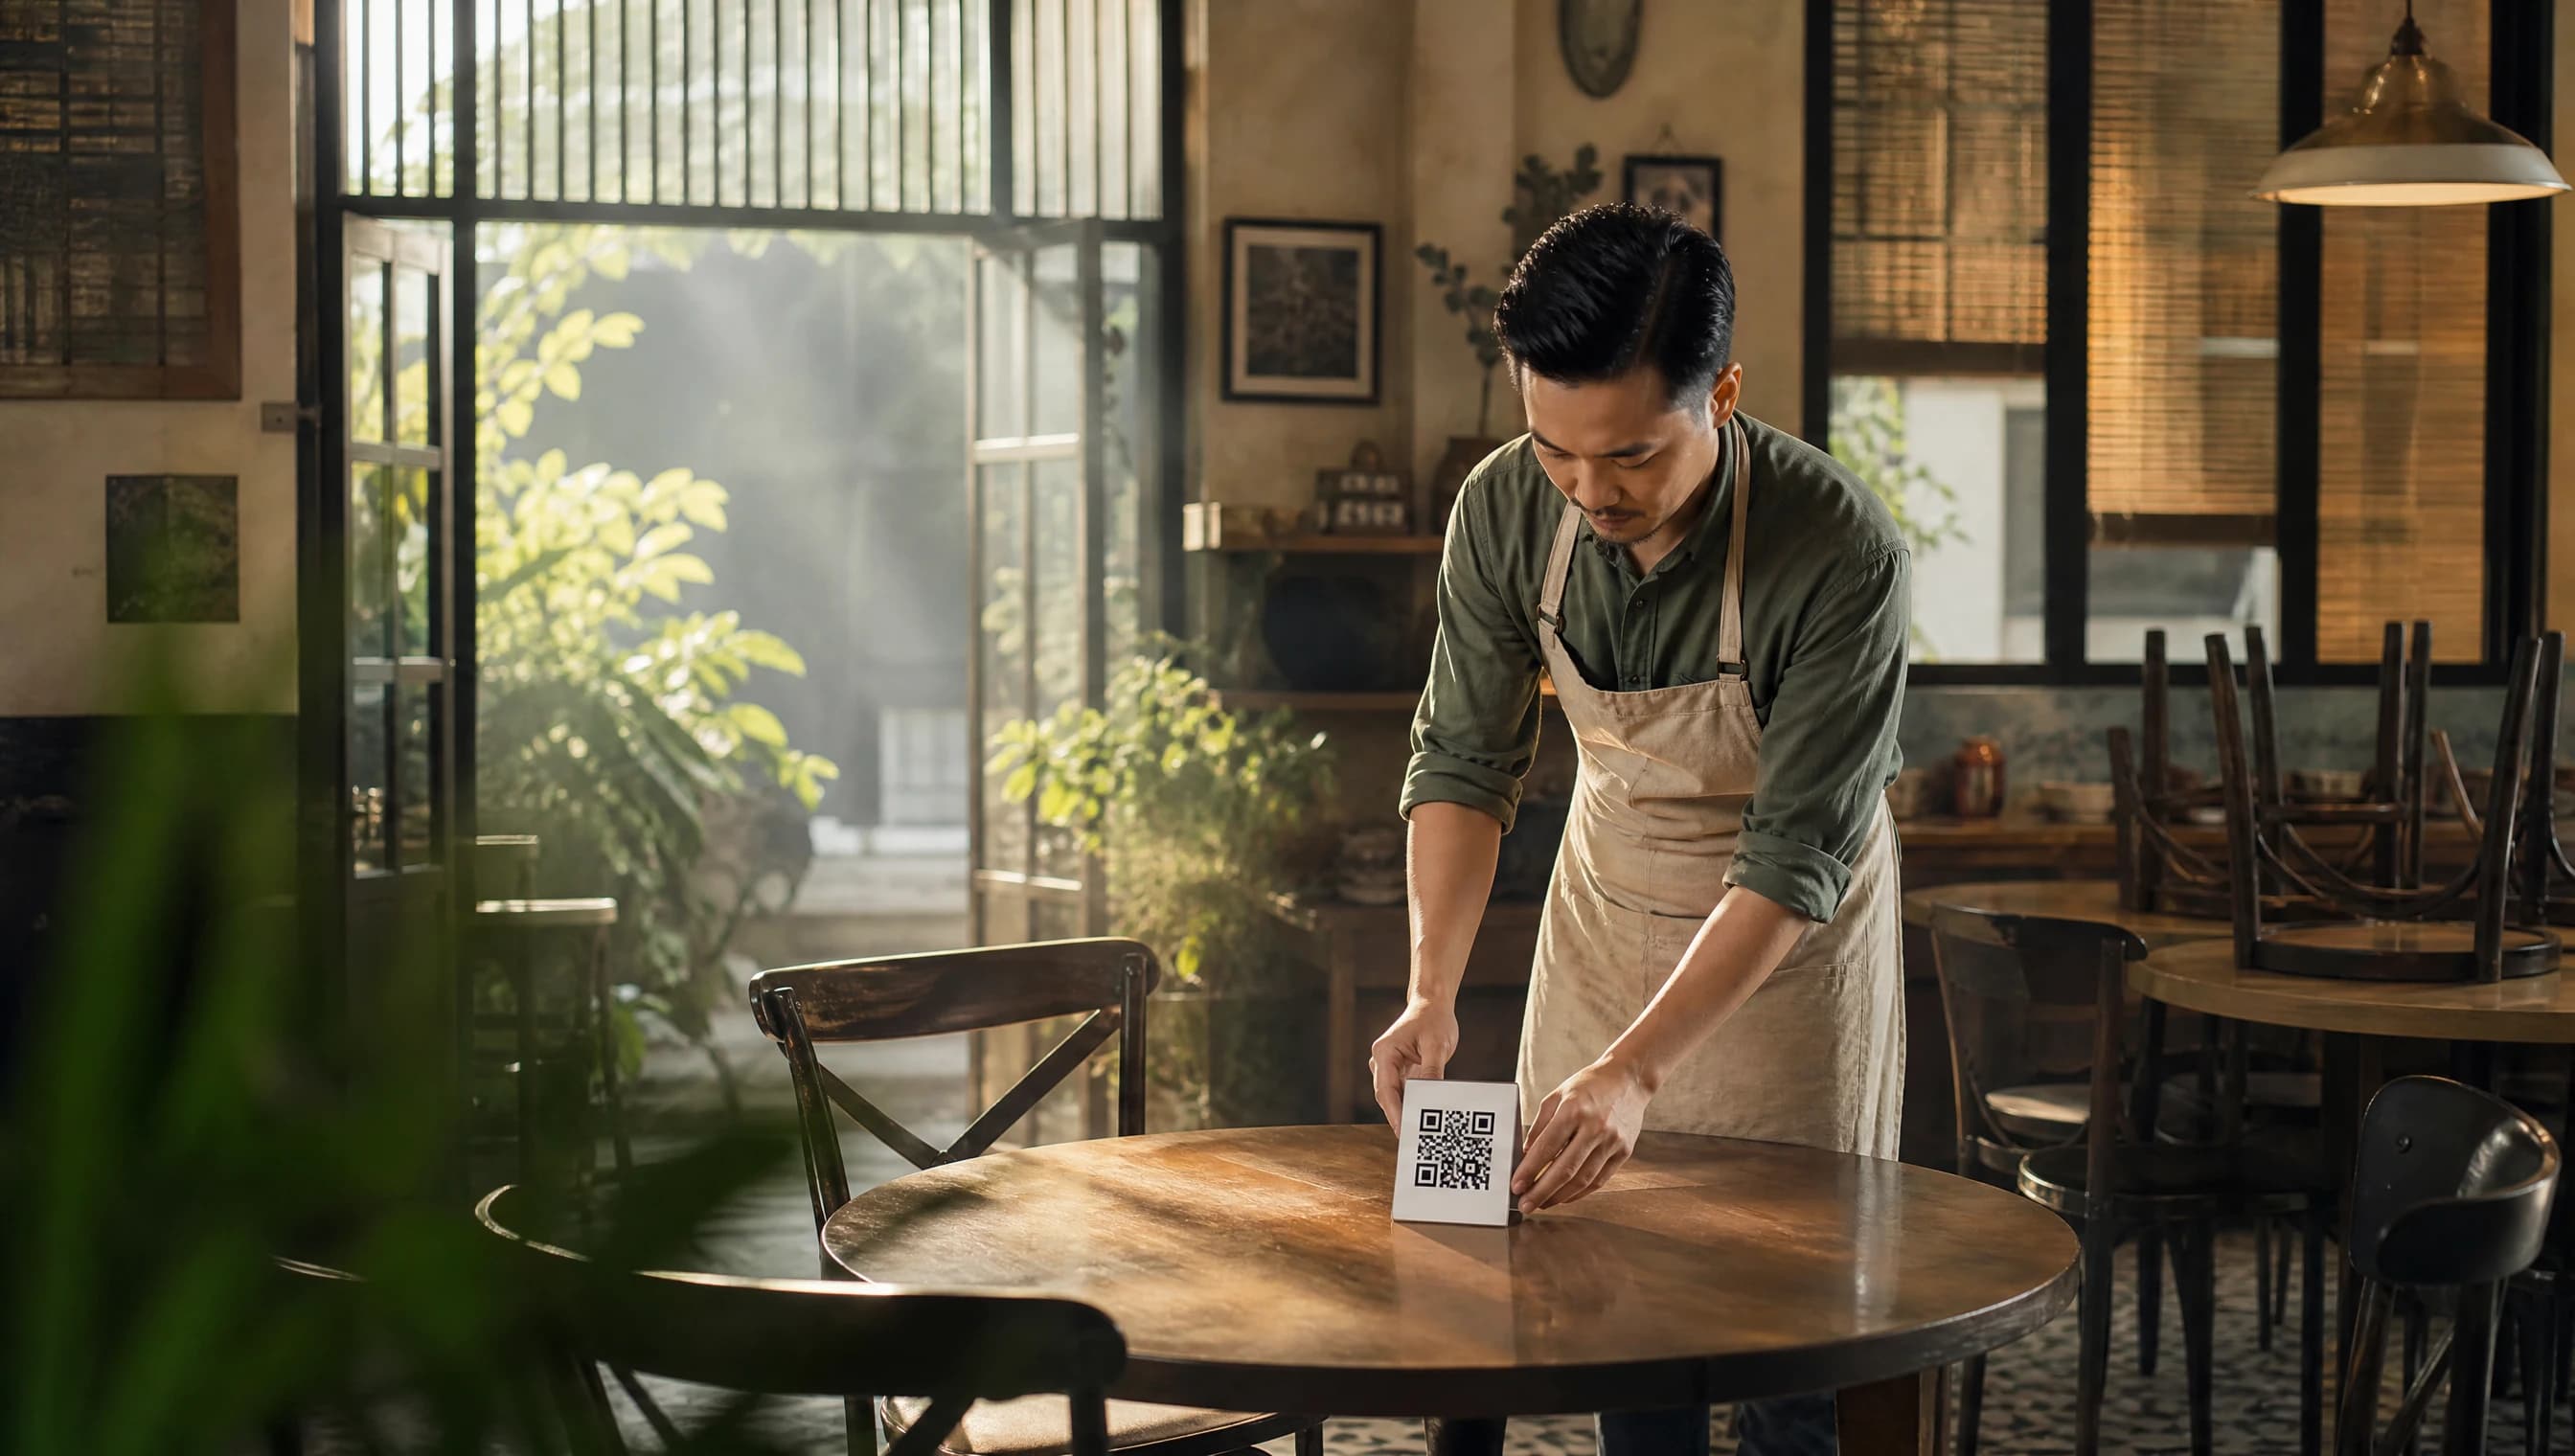
- Print your table QR codes. Each table gets its own QR code, and paid plans support unlimited tables. Print them onto table-tent cards, stickers, or whatever holder fits your tables and hand them out to each one.
- Try Test Mode first. Before opening to real guests, switch on Test Mode and place a few practice orders yourself — up to 10 a day. These test orders are excluded from your real analytics, so they won't skew your sales numbers, and they're a good way to walk a new staff member through what a live order looks like on their end.
- Turn Test Mode off and open the doors. Once your menu looks right and your team has seen an order move from scan to kitchen to served, switch Test Mode off. The next scan is a real guest, and the next order is a real one.
Do you need to set up payments or hardware first?
No — there's nothing to configure on either front. Hidangi doesn't take a cut of food payments or route money through the app at all, so there's no merchant account application, no card reader to pair, and no settlement schedule to wait on. Guests order through the QR page and pay your counter directly, the same way they would with a printed menu. The only "hardware" involved is whatever you already use to print a small card — a home printer, an office printer, or a nearby print shop.
Do you need professional photos to get started?
No. Plain photo upload — a picture taken on your own phone under normal kitchen or dining-room light — is free on every plan, including the free tier. You don't need studio lighting, a food stylist, or an AI-generated image to publish a dish. If you later want a more polished look for a specific item, that's a separate optional add-on, not a requirement to launch your menu at all.
What you need before you start
Most of the setup time isn't spent inside the app — it's spent gathering the few things below beforehand. Having them ready before you open the app makes the whole walkthrough faster.
| What you need | Why you need it |
|---|---|
| A smartphone (iOS or Android) | To install the app and sign in as Owner |
| A few photos of your dishes | Plain phone photos are enough — free on every plan, no professional shoot required |
| Your menu items and prices decided | Fastest if this list already exists on paper or in a notes app before you start adding items |
| A printer, or access to one | For turning each table's QR code into a physical card, sticker, or table-tent |
Frequently Asked Questions
Do I need professional photos to start? No. A plain photo you take yourself is free to upload on every plan. There's no requirement to use AI-generated images or hire a photographer just to publish your menu.
Can I test the ordering flow before real customers use it? Yes. Test Mode lets you place up to 10 practice orders a day. Those orders are kept separate from your real analytics, so you can rehearse the whole flow — scan, order, kitchen ticket, serve — without it touching your actual sales numbers.
What if I only have one or two staff members? That's the setup this is built around. One Owner signs in once with Apple or Google, builds the menu, and prints the QR codes. Guests order themselves by scanning the table QR, so front-of-house doesn't need a separate login just to take orders — staff mainly watch the kitchen display and bring food out.
Do I need to set up a payment gateway or card machine? No. Hidangi doesn't process food payment at all, so there's nothing to configure there. Guests pay at the counter after eating, the same way they always have.
How many tables can I set up QR codes for? Paid plans support unlimited tables, so you can print one QR code per table regardless of how many tables your restaurant has.
Getting started
If you're getting ready to open, the app itself is free to download, and the first two steps — installing it and signing in — cost you nothing but a couple of minutes. Everything after that moves at the pace of your own menu: however long it takes you to list your dishes and print a few cards is roughly how long setup takes.